
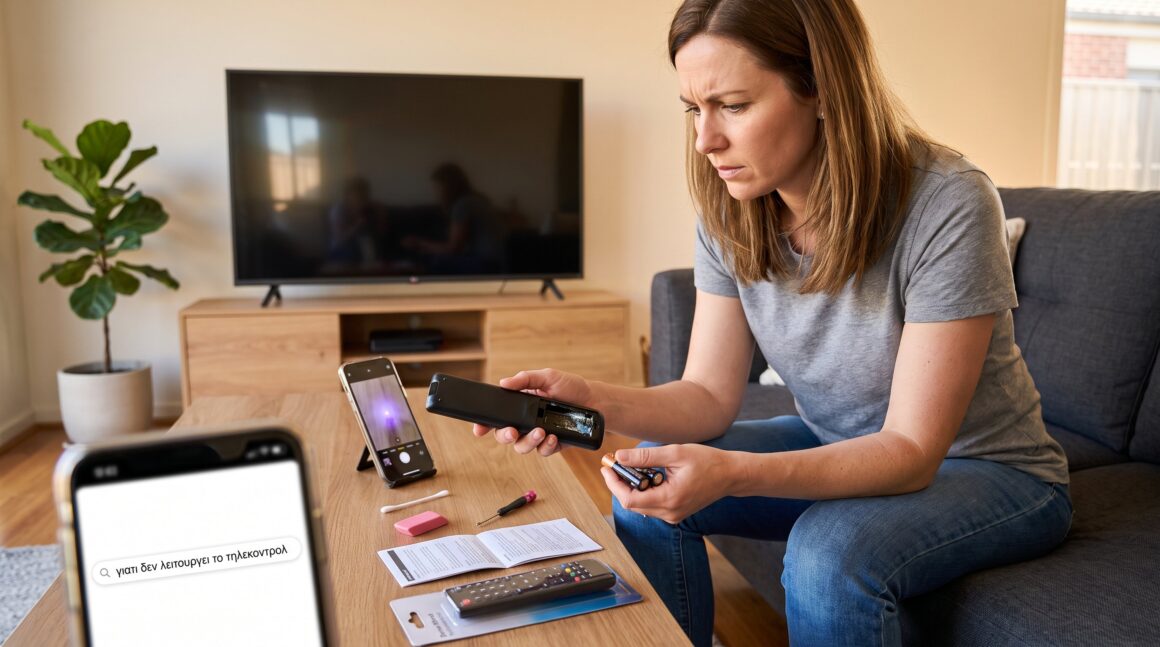
γιατι δεν λειτουργει το τηλεκοντρολ is a common search when a remote stops responding. They often assume the remote died, but the cause is usually simple: power, dirt, signal, or pairing. This guide gives direct, step‑by‑step checks and clear actions a person can do in minutes. It focuses on practical fixes that restore function without tools, and it flags when a repair or replacement is the realistic next step.
Key Takeaways
- The main reasons γιατι δεν λειτουργει το τηλεκοντρολ include dead batteries, dirty contacts, blocked signals, or pairing issues.
- Always start troubleshooting by replacing batteries, cleaning contacts, and ensuring there is a clear line of sight for the remote’s IR signal.
- Using a smartphone camera can help test if the remote’s IR emitter is working properly.
- Resetting or re-pairing Bluetooth remotes often resolves connection problems without needing tools.
- If basic fixes fail and internal damage is suspected, professional repair or replacement is usually the most cost-effective solution.
Common Causes Behind A Dead Or Unresponsive Remote
The quick answer: most failures come from four predictable problems. Batteries, dirty contacts or worn buttons, blocked or weak signal, and pairing or internal damage explain most cases of ‘γιατι δεν λειτουργει το τηλεκοντρολ’.
Batteries fail first. Old, weak, or incorrectly inserted cells stop the remote from powering on. A technician’s checklist often finds batteries at fault in over half of simple failures. If a remote sits idle for months, leakage and corrosion appear at the contacts and prevent power transfer.
Buttons and rubber pads wear next. Dust and grease can block the conductive pads under each button. Pressing a worn pad may feel the same but fails to register the command. Stuck buttons can also jam the circuit and make the remote behave as if it is constantly pressed.
Signal issues occur with IR and Bluetooth remotes. An infrared (IR) remote needs a clear line of sight: sunlight, lamps, or an object in front of the TV sensor will make it appear dead. For Bluetooth or RF remotes, software updates or pairing errors can sever the connection.
Internal damage finishes the list. Drops, moisture, cracked circuit boards, or a burned IR LED will stop a remote even if batteries and buttons are fine. When basic fixes fail, the problem often lies in the PCB, IR emitter, or the TV’s sensor board.
Quick Troubleshooting Checklist You Can Do In Minutes
Answer first: follow this checklist to rule out the most common causes of ‘γιατι δεν λειτουργει το τηλεκοντρολ’. Each step takes under two minutes and uses items most people already have.
-
Confirm the correct remote. Remotes for cable boxes, soundbars, and TVs look similar. Make sure it’s in the right mode (TV vs AUX).
-
Replace batteries with fresh, name‑brand cells. Use identical types (AA or AAA) and insert them with correct polarity. Low or leaking batteries create intermittent faults.
-
Inspect and clean battery contacts. Corrosion looks white or green. Wipe contacts with a pencil eraser or a cotton swab dampened with isopropyl alcohol.
-
Press every button. Push and release each key to free any that are stuck. Stuck buttons can lock the remote in a fail state.
-
Clear the path. Remove objects between remote and screen. Move lamps or bright sunlight away from the TV sensor and test from 3–6 feet.
-
Power‑cycle the TV or device. Unplug for 30 seconds, then plug back in. Some devices need a fresh handshake after a reset.
If these steps restore function, the lesson is usually battery or contact related. If not, continue to the signal and internal checks below.
Check Batteries, Power Contacts, And Signal (Step-By-Step)
Clear result first: check power and signal exactly as described to verify whether the remote is alive.
Batteries: Remove both cells. Press the remote’s Power or any button for 5–10 seconds to discharge residual charge. Reinsert new batteries observing +/– markings. If the remote works now, the issue was power. People often skip the discharge step and find the remote still fails because residual voltage confuses the electronics.
Contacts: Inspect the metal springs and flat contacts. Look for white or green corrosion. Rub gently with a pencil eraser to remove residue. For stubborn grime, dip a cotton swab in 90% isopropyl alcohol and rub until clean. Let dry one minute before reinserting batteries.
IR signal: Use a smartphone camera to test the IR emitter. Point the remote at the camera, press a button, and watch the camera screen for a pulsing light at the tip. If the camera shows no light but fresh batteries are in place, the IR LED is likely dead.
TV sensor: Clean the TV’s IR receiver lens with a microfiber cloth. Test from different angles and distances. If the remote works close up but not at 10–15 feet, suspect a weak IR LED or a worn battery.
Advanced Home Fixes: Resetting, Re-Pairing, And Cleaning Internals
Direct insight first: if basic steps fail, resetting, re‑pairing, or internal cleaning often recovers a remote, but these steps require care and a small risk tolerance.
Full reset: Remove batteries and hold the Power or any large button for 30–60 seconds. This drains capacitors and clears transient faults. Replace batteries and test. Many smart remotes recover after this forced reset.
Re‑pair smart/Bluetooth remotes: Follow the manufacturer sequence, usually holding two buttons while powering the host device enters pairing mode. If an update interrupted pairing, factory reset the host device first, then reinitiate pairing. Keep the remote within 1–3 feet during the initial handshake.
Open and clean internals (only if comfortable): Use a small Phillips screwdriver and a plastic pry tool. Keep screws in a small tray. Remove the PCB and inspect for corrosion, loose connectors, or a cracked solder joint. Clean rubber pads and the PCB with 70–90% isopropyl alcohol on a cotton swab. Replace warped rubber pads: you can order replacements online if a specific model needs them.
Warning: opening some remotes voids warranties. Moisture or static can further damage components. If the IR LED is visibly burned or the PCB has a cracked trace, replacement is usually more cost‑effective than repair.
A real lesson: a homeowner once cleaned the contacts and found a dead spider inside the remote disrupting the button dome, a reminder to inspect interiors for simple obstructions before assuming electronics failed.
Conclusion: When You’ve Tried Everything And What To Do Next
Final point: after batteries, contact cleaning, signal checks, reset, and internal cleaning, the remaining failures point to hardware faults. The IR LED, the PCB, or the TV’s sensor board usually needs professional repair or replacement.
What to do next: test a known‑good remote if available. If a replacement remote for that model costs under $20, replacement is the fastest fix. For smart remotes tied to unique features, contact the manufacturer or order a certified replacement. If the TV’s sensor is likely at fault, consult a technician, replacing a sensor board can cost more than a replacement remote.
Practical warning: avoid soldering on fine pitch PCBs unless experienced. A mistaken repair can make the device irrecoverable. When in doubt, replace. Modern remotes are inexpensive, and replacement saves time and future frustration.